How and why I built this site using JAMstack
Published on: July 27, 2017 by Joona Tuunanen
I’ve been excited about trying new geeky things for many, many years. So imagine my enthusiasm when I saw this tweet by Tom Bennet some time ago:
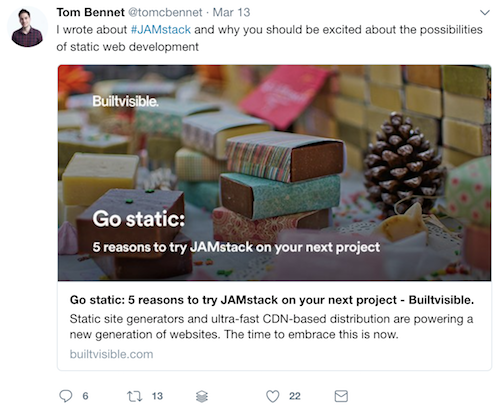
First reaction: “WTF is JAMstack?“. Second reaction: click.
After reading about JAMstack for a total of 2 articles, I knew I have to build a site using it.
Here’s what got me excited about building a static website
Not gonna lie, part of the fascination is just the fact that it’s a bit ahead of the curve and still technically rough. Setting a Wordpress site and making it hum is not that difficult anymore, which obviously is a great thing. But every now and then, you need a new technical challenge if you’re a geek like me.
But by far the biggest reason why I got enthusiastic about JAMstack is just the faaaaast these sites load.
For example, here’s a TTFB (time to first byte) and load time for Jamstack.org:
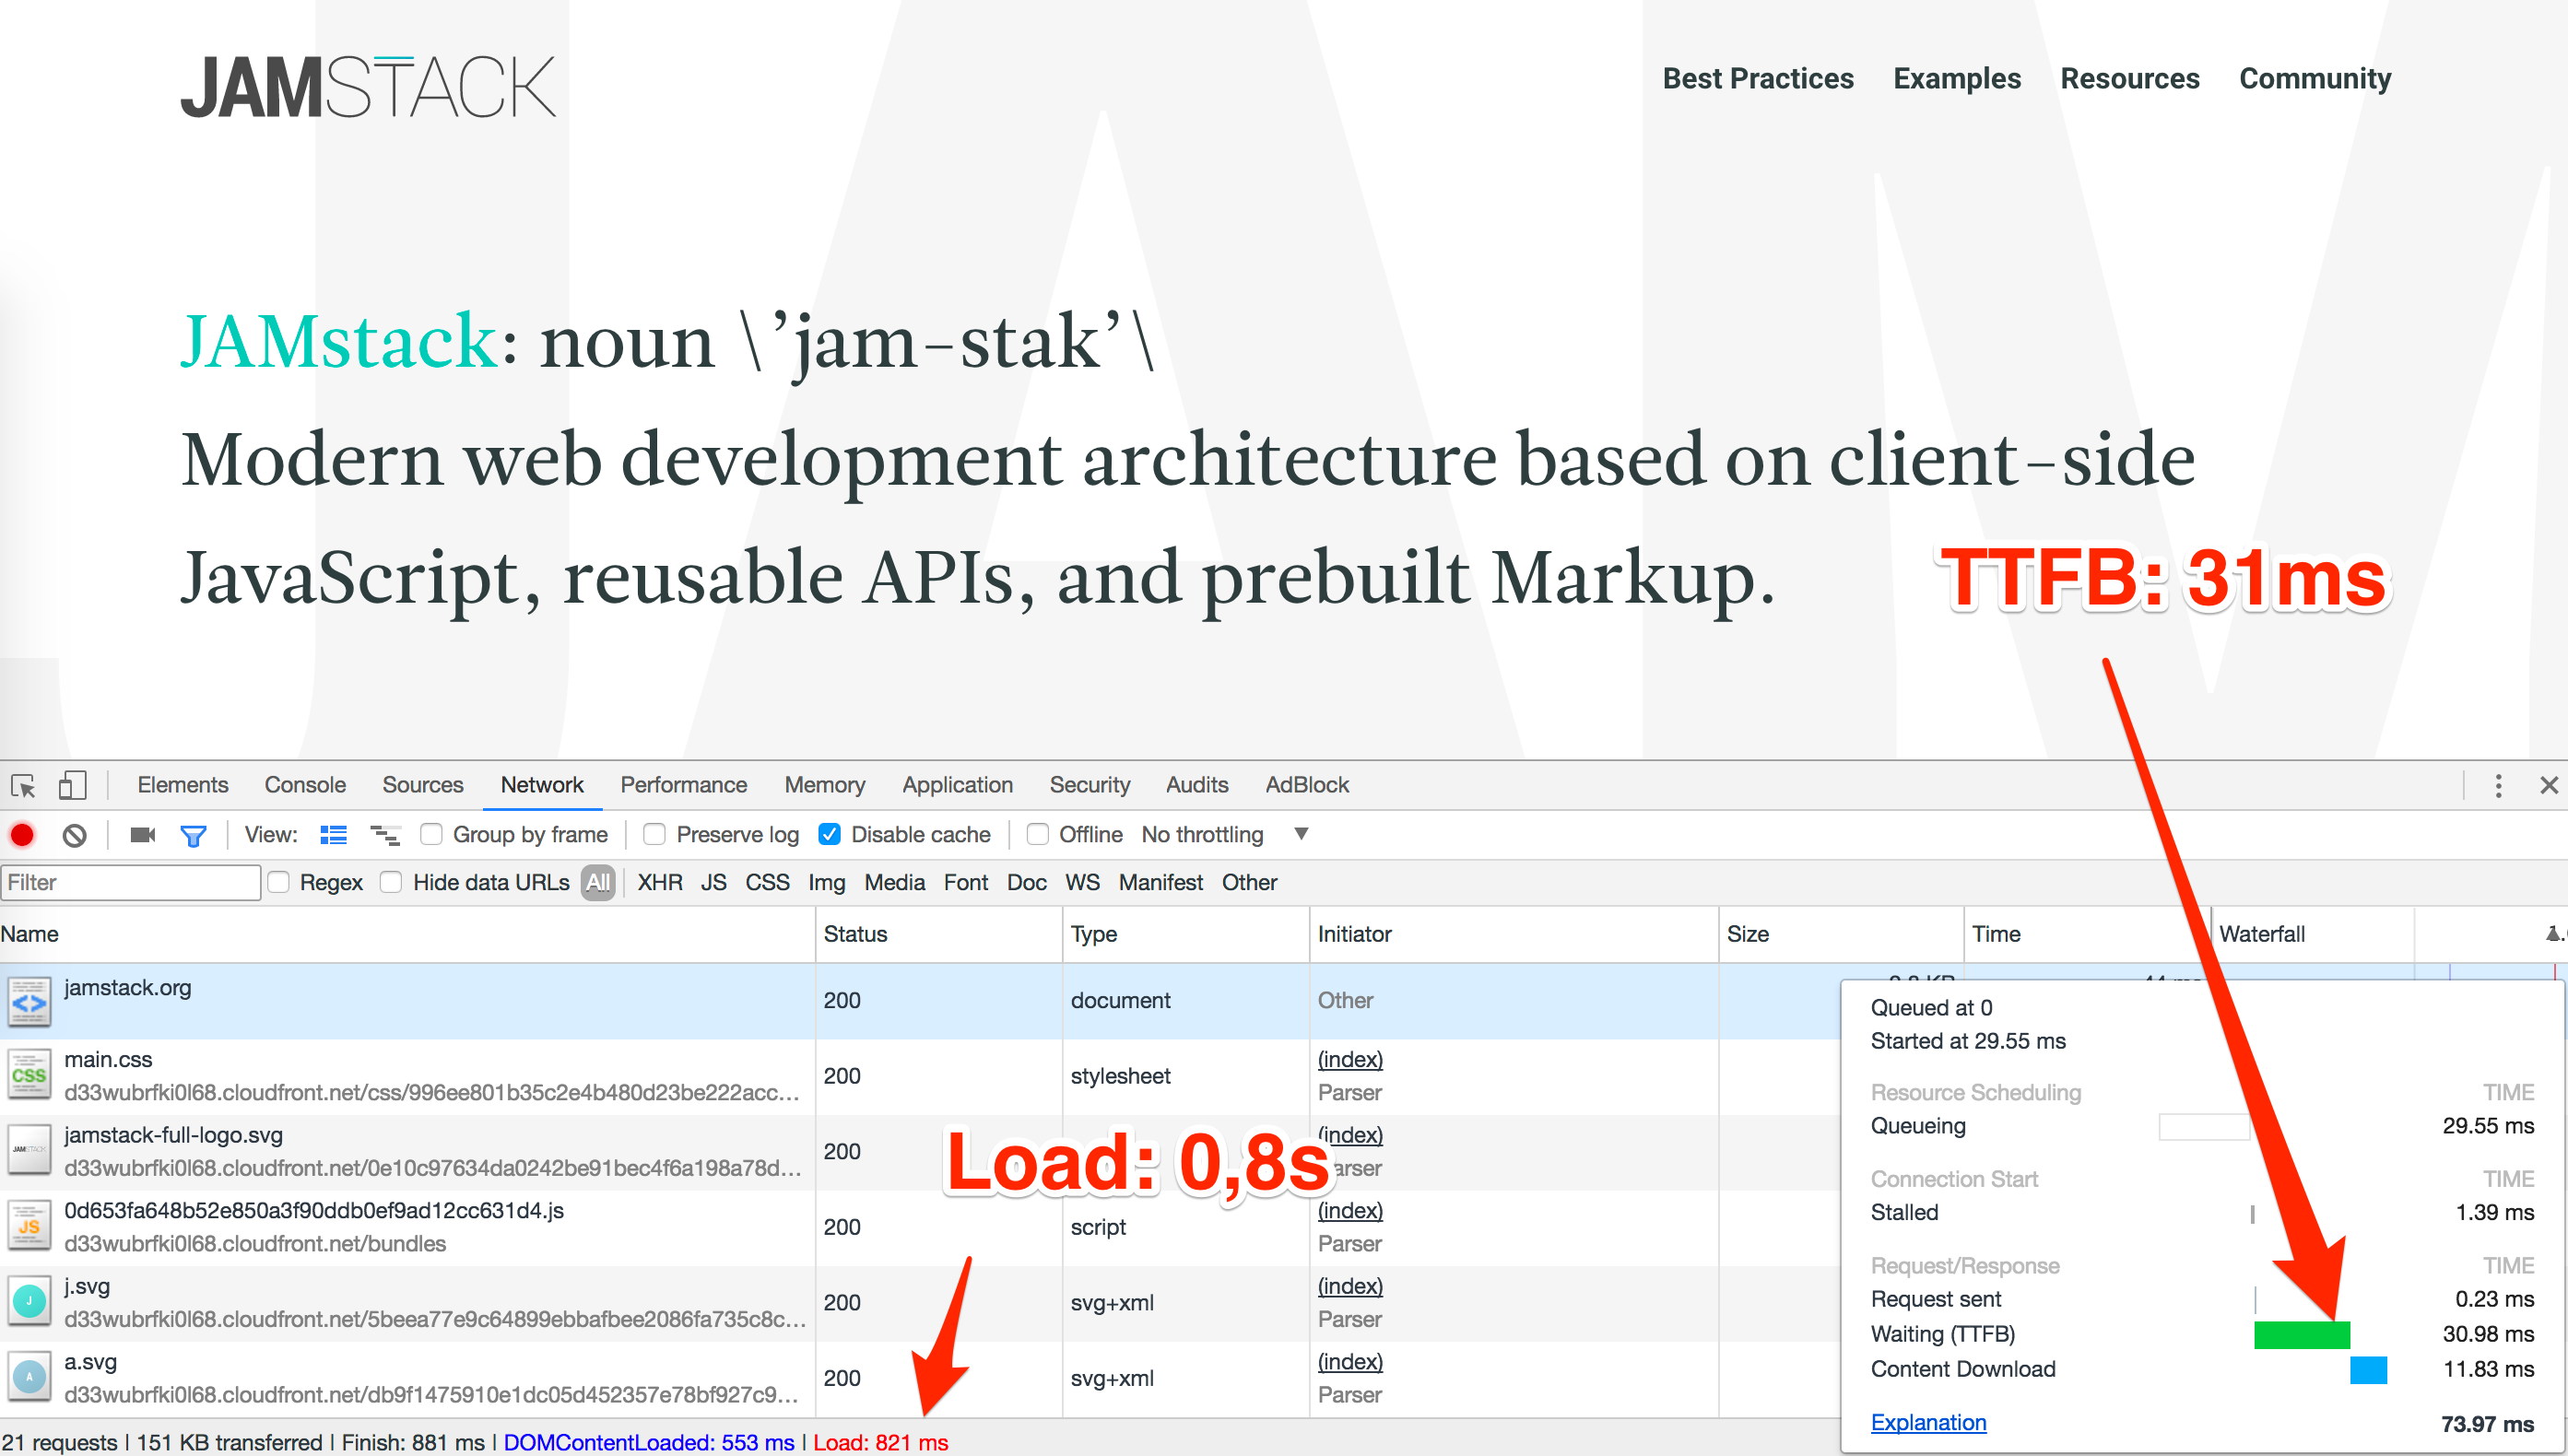
And it’s not just that site, but so far every modern static website I’ve seen have been really quick to load. Me likey.
Besides the already mentioned technical challenges building a site like this and the quick load times, there’s also the big thing that I consult companies on their technical SEO. How could I be really good at my job if I didn’t know the kind of things that web technologies make possible? I couldn’t.
Few things you need to decide before diving in
May 2020 update: I’ve since redone the site using Eleventy (11ty), but the following should still work.
Before you start to build a static website, you have to make a few decisions.
First, what kind of static site generator are you going to use? You many options, but these are the main ones:
There’s a ton more, but those are the main three at least based on staticgen.com.
Based on my research, all of them have their pros and cons, just like any technology. I have a tendency to make these types of decisions based on way too much research so this time I decided to make the decision easy: I’ll just go with Jekyll.
Part of the reason I decided to go with Jekyll is that it had a good amount of themes available and as it has been built on Ruby (which I have a little bit of experience on), I knew I can probably decypher at least some of the code and modify it if needed.
Don’t overthink it, just pick one and stick to it.
After deciding on the site generator, the second thing to consider is where do you wanna host the site at. Two great options are Netlify and GitHub Pages.
Both of them are basically free as of today (August 2017) and not too complicated to setup. I went with Netlify because of their great guide and because I somehow found them sympathetic. I’m sure there are other options as well, but these two seem to make sense.
Besides the static site generator and hosting, you will need some repository where you’re going to host your code at. This is not necessarily the same as the actual hosting that serves your website for visitors. I have mine on Github.
Even though all these services have extensive help sections and guides, be prepared to tear your hair out a bit and google error messages that might not make any sense. It’ll all be fine in the end.
Also, it would be a dick move for me to paint too rosy picture of the reality of having a static website. Here are a few things that you should be comfortable with or eager to learn about:
- how to use the terminal
- some obscure text editor so you can debate about them with other nerds (I like Sublime Text)
- installing Ruby or similar
- Model-View-Controller or MVC for short
- some understanding of programming languages, HTML and CSS as it’s unlikely you don’t need to change anything in the codebase
Besides that, remember that static websites are not Wordpress. There is a lot less plugins you can just install. And even if there are, getting them to work is often PITA. A good example of this is hreflang as there are no easy solutions to implement that on Jekyll websites. If you know any, let me know on Twitter.
So with the hype and disclaimers more or less out of the way, let’s get our geeky hands pounding the keyboard.

How to build a site using JAMstack
Now that you’ve perhaps decided on the technology stack you want to build your static website with, let’s get that engine humming.
As always, I can only speak about my experience so take all the following as just that: a case study of using Netlify - GitHub - Jekyll -combo. Also, keep in mind that this case study is about setting up a website maintained and written by one person and not a team. For teams it probably makes sense to look into something like Netlify CMS or similar.
1. Install Ruby, Jekyll and required gems
The first thing you need to do is to install Ruby and some Ruby gems (=plugins). Even if you have Ruby installed, it makes sense to check the version you might have installed to make sure you have recent enough version.
I won’t give extremely detailed process here because your OS and potentially pre-existing dev environment is most likely not the same as mine. Here’s the instructions on how to install Ruby straight from the documentation.
You might also want to look in to RVM (Ruby Version Manager) or similar. You’ll figure it out.
There’s also a good article on Netlify blog about installing Ruby with Jekyll to your machine. Check it out here.
2. Create the site and pick up a theme for the site
Once you have both Ruby and Jekyll up and running, the next step is to create the site and then get some type of theme for the website. At least that’s my process as somehow seeing the words appear in the browser makes it more concrete than just seeing code on the screen.
To create the site and to go to the right folder, type the following in terminal:
jekyll new whatever-you-wanna-call-your-site
cd whatever-you-wanna-call-your-site
For the theme, I went for a Personal theme, which I’ve then hacked and redesigned to fit my appaling taste.
You can find a bunch of themes just by googling “jekyll theme” etc, so that’s not gonna be a problem. Typically the themes are easy to install and I’m pretty sure the place where you download your theme from has instructions about installation.
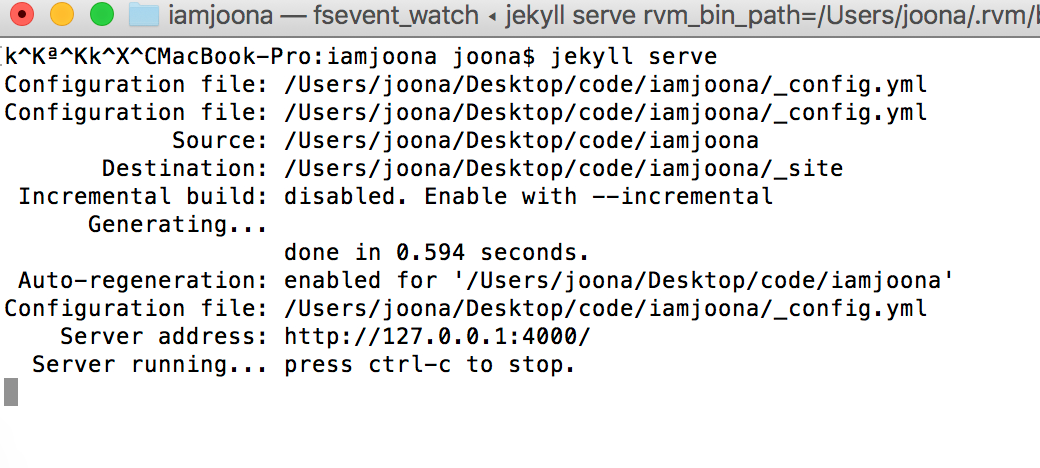
To test that your site works locally, type the following in terminal in the folder you’ve created the website in:
jekyll serve
That should bring something like this to your terminal window:
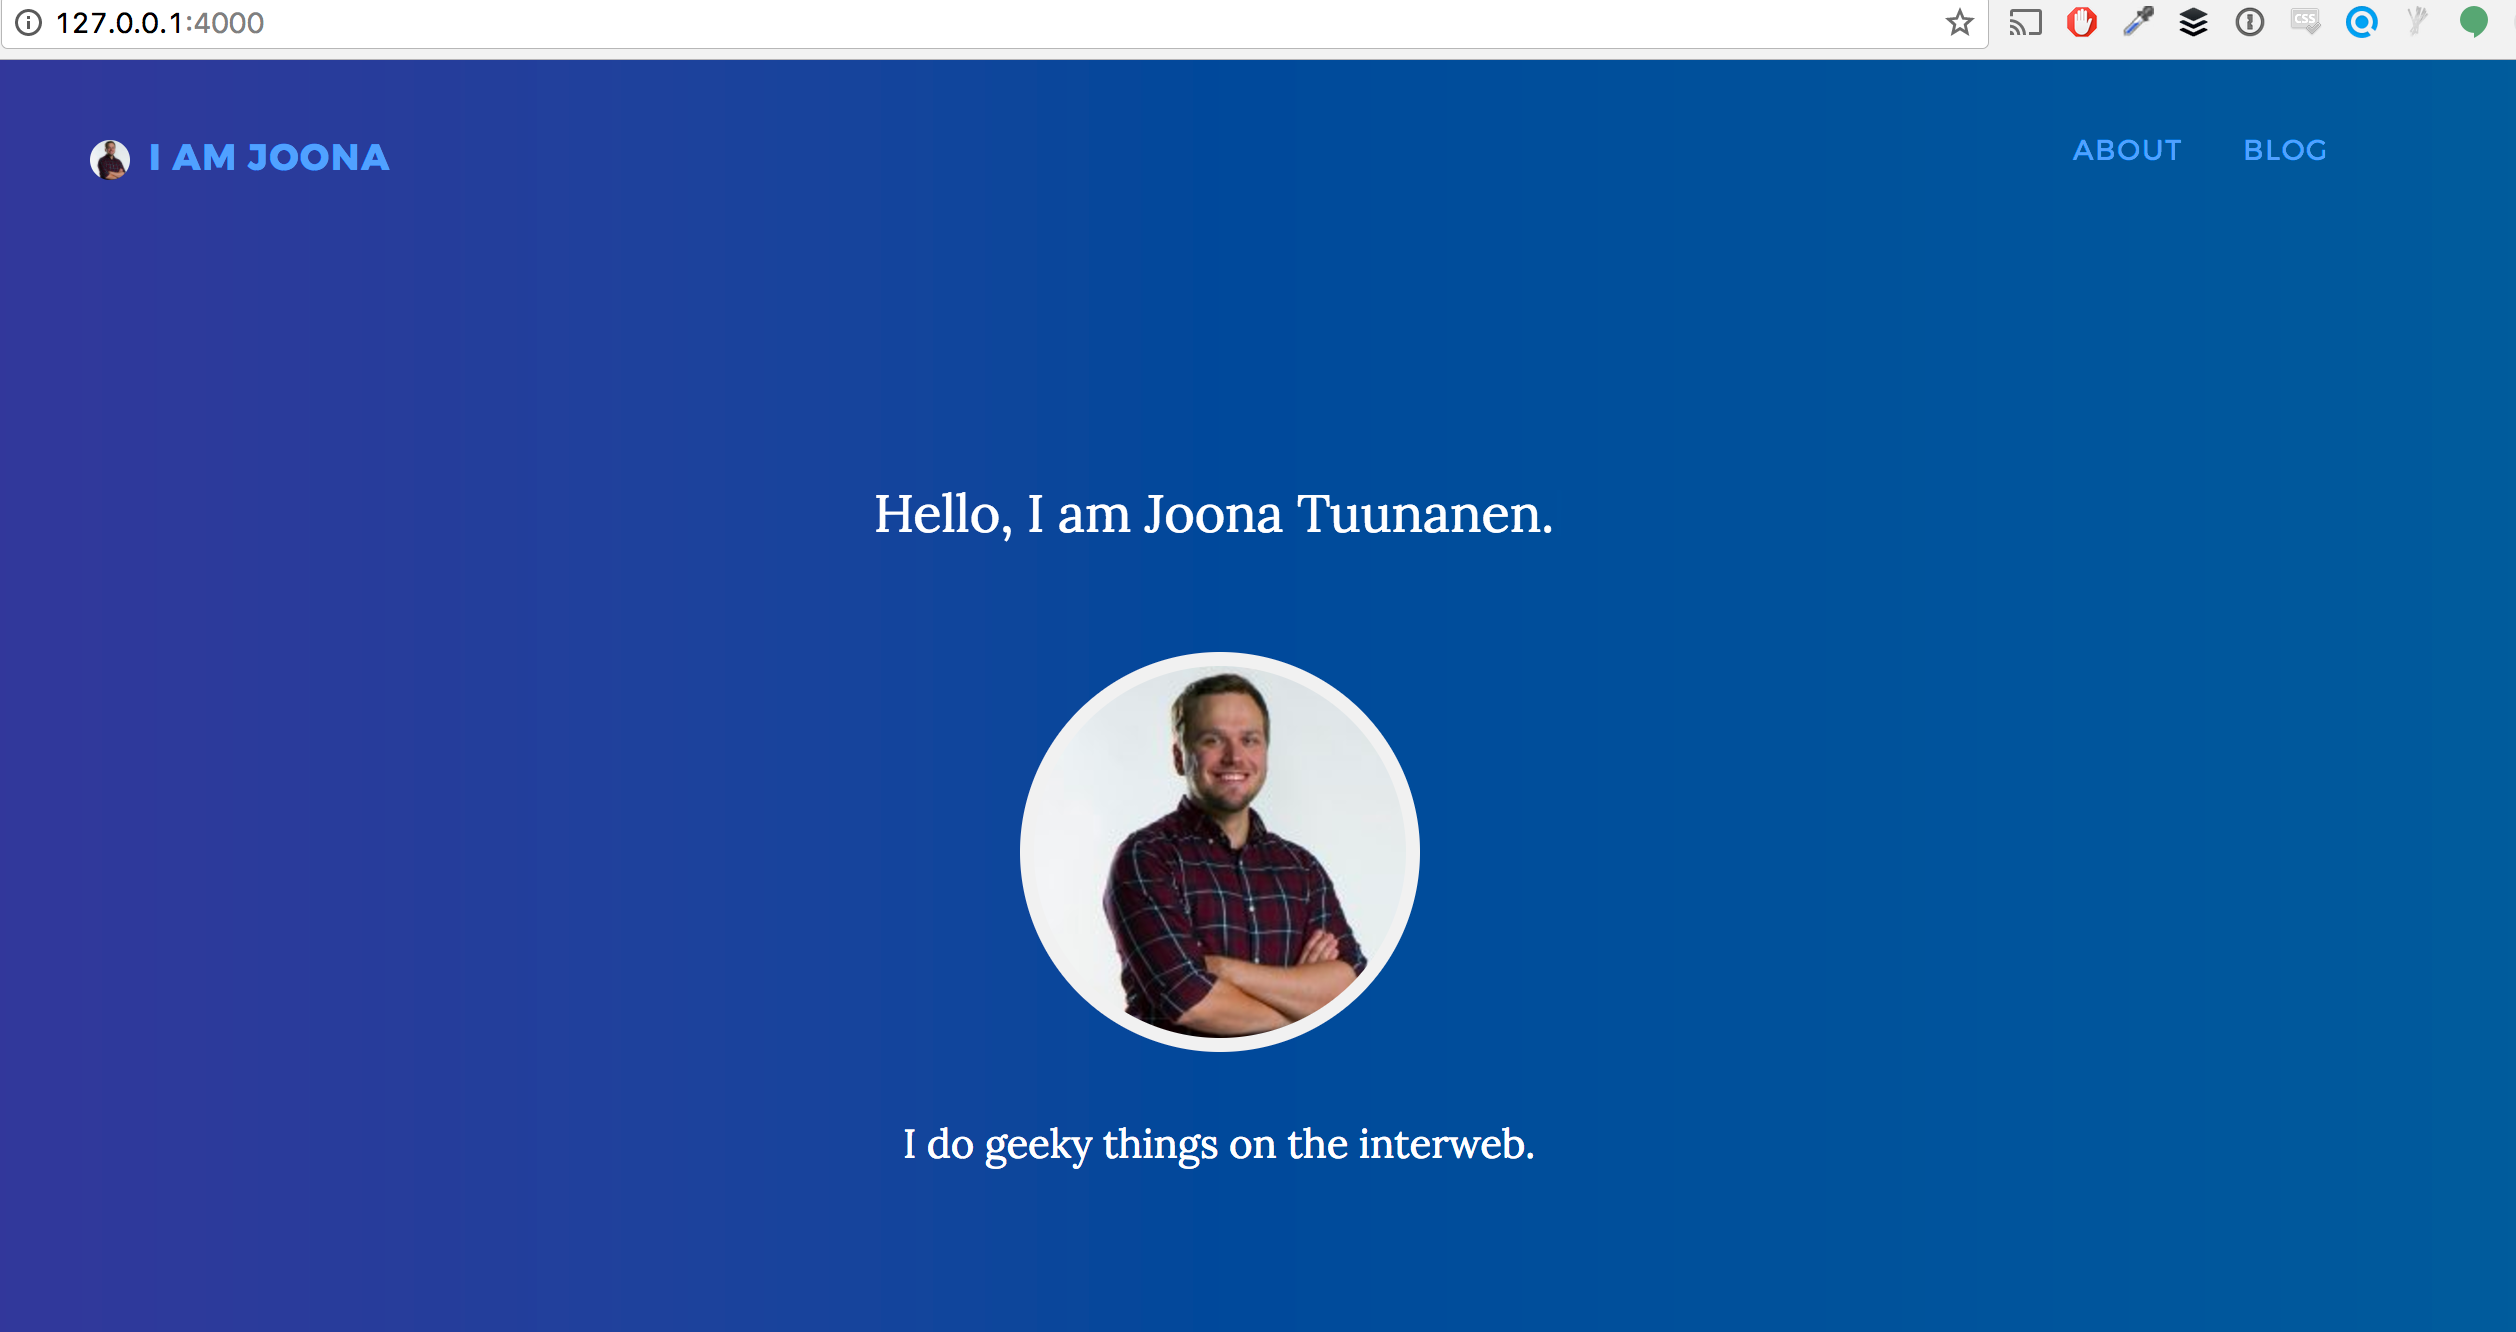
From there you can copy and paste the server address to your browser. Voilá, your site is now ready for the next step.
3. Hook up your site to Github
So now you have a rough version of the site and you’d perhaps want to push that into the interwebs. In order to do that, you need to push your codebase and content somewhere. As I said before, I use Github.
They have good guides on their site, at least behind login, how you can push your code to Github. Therefore, I’m not gonna type out all of that here.
As your site now lives locally on your machine (“the original code”) as well as on Github (“the code in the cloud”), you’ll need to always remember to push any locally made changes to Github.
To do that, you should always repeat these lines when you want to update your site (my comment after //, don’t include those to your terminal window).
git add . //adds all the changed files to the next push
git commit -m "Your message here" //adds a comment to Github what you've changed
git push -u origin master //pushes your code from local computer to Github
If you haven’t done this before, your computer will most likely want you to authorize the push with Github. Once again, Github has good instructions how to do that.
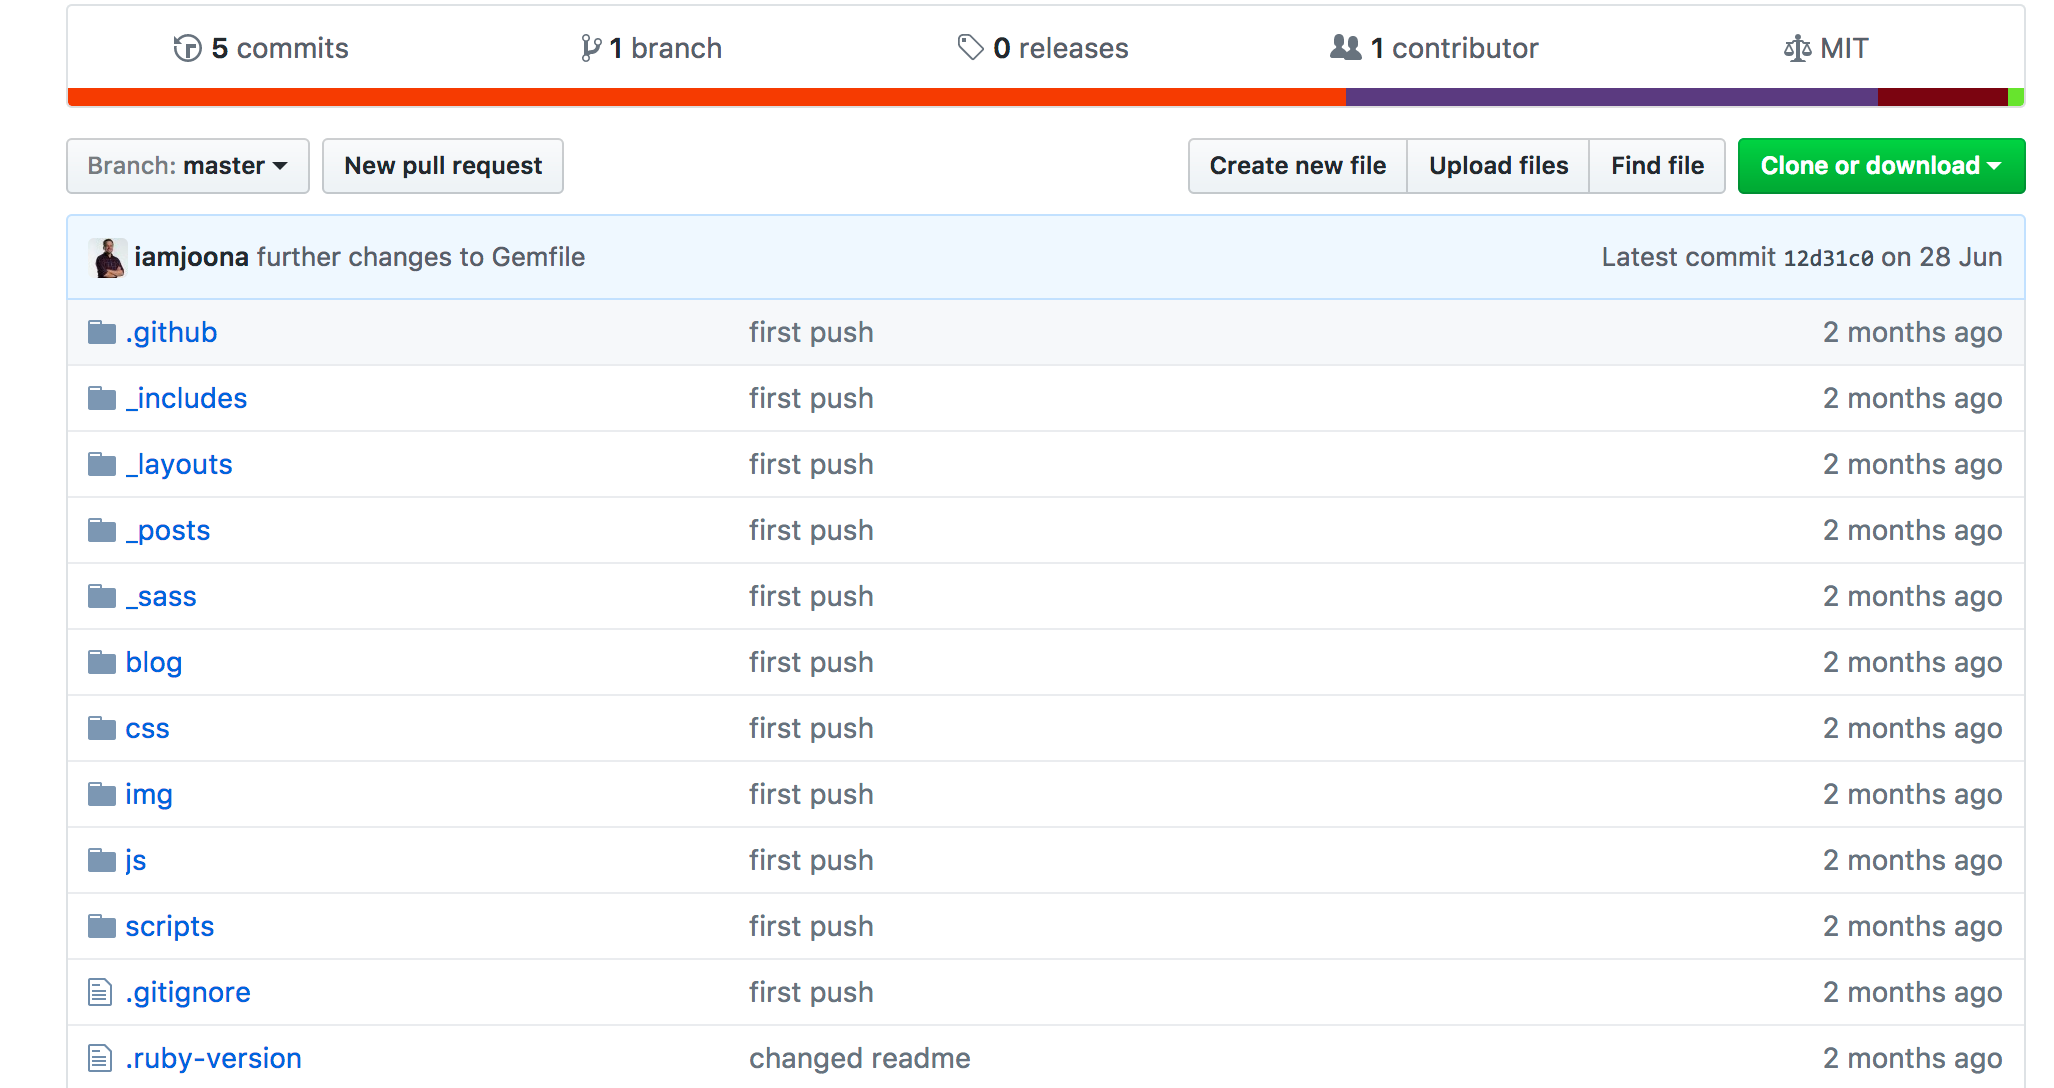
At this point all your code belongs to Github and you can see it there in the repository you’ve created:
Alright, we’re getting there.
4. Link up Netlify and Github
To be frank, I had some issues how to get the link between Netlify and Github to work properly. I could connect the services, but whenever I checked the temporary url they generated for the site, I always got a 404 error. If you have similar issues, I suggest you take a look at your Gemfile as it needs to specify which version of Jekyll you want to use. This was the missing piece for me which caused some frustration and frantic googling.
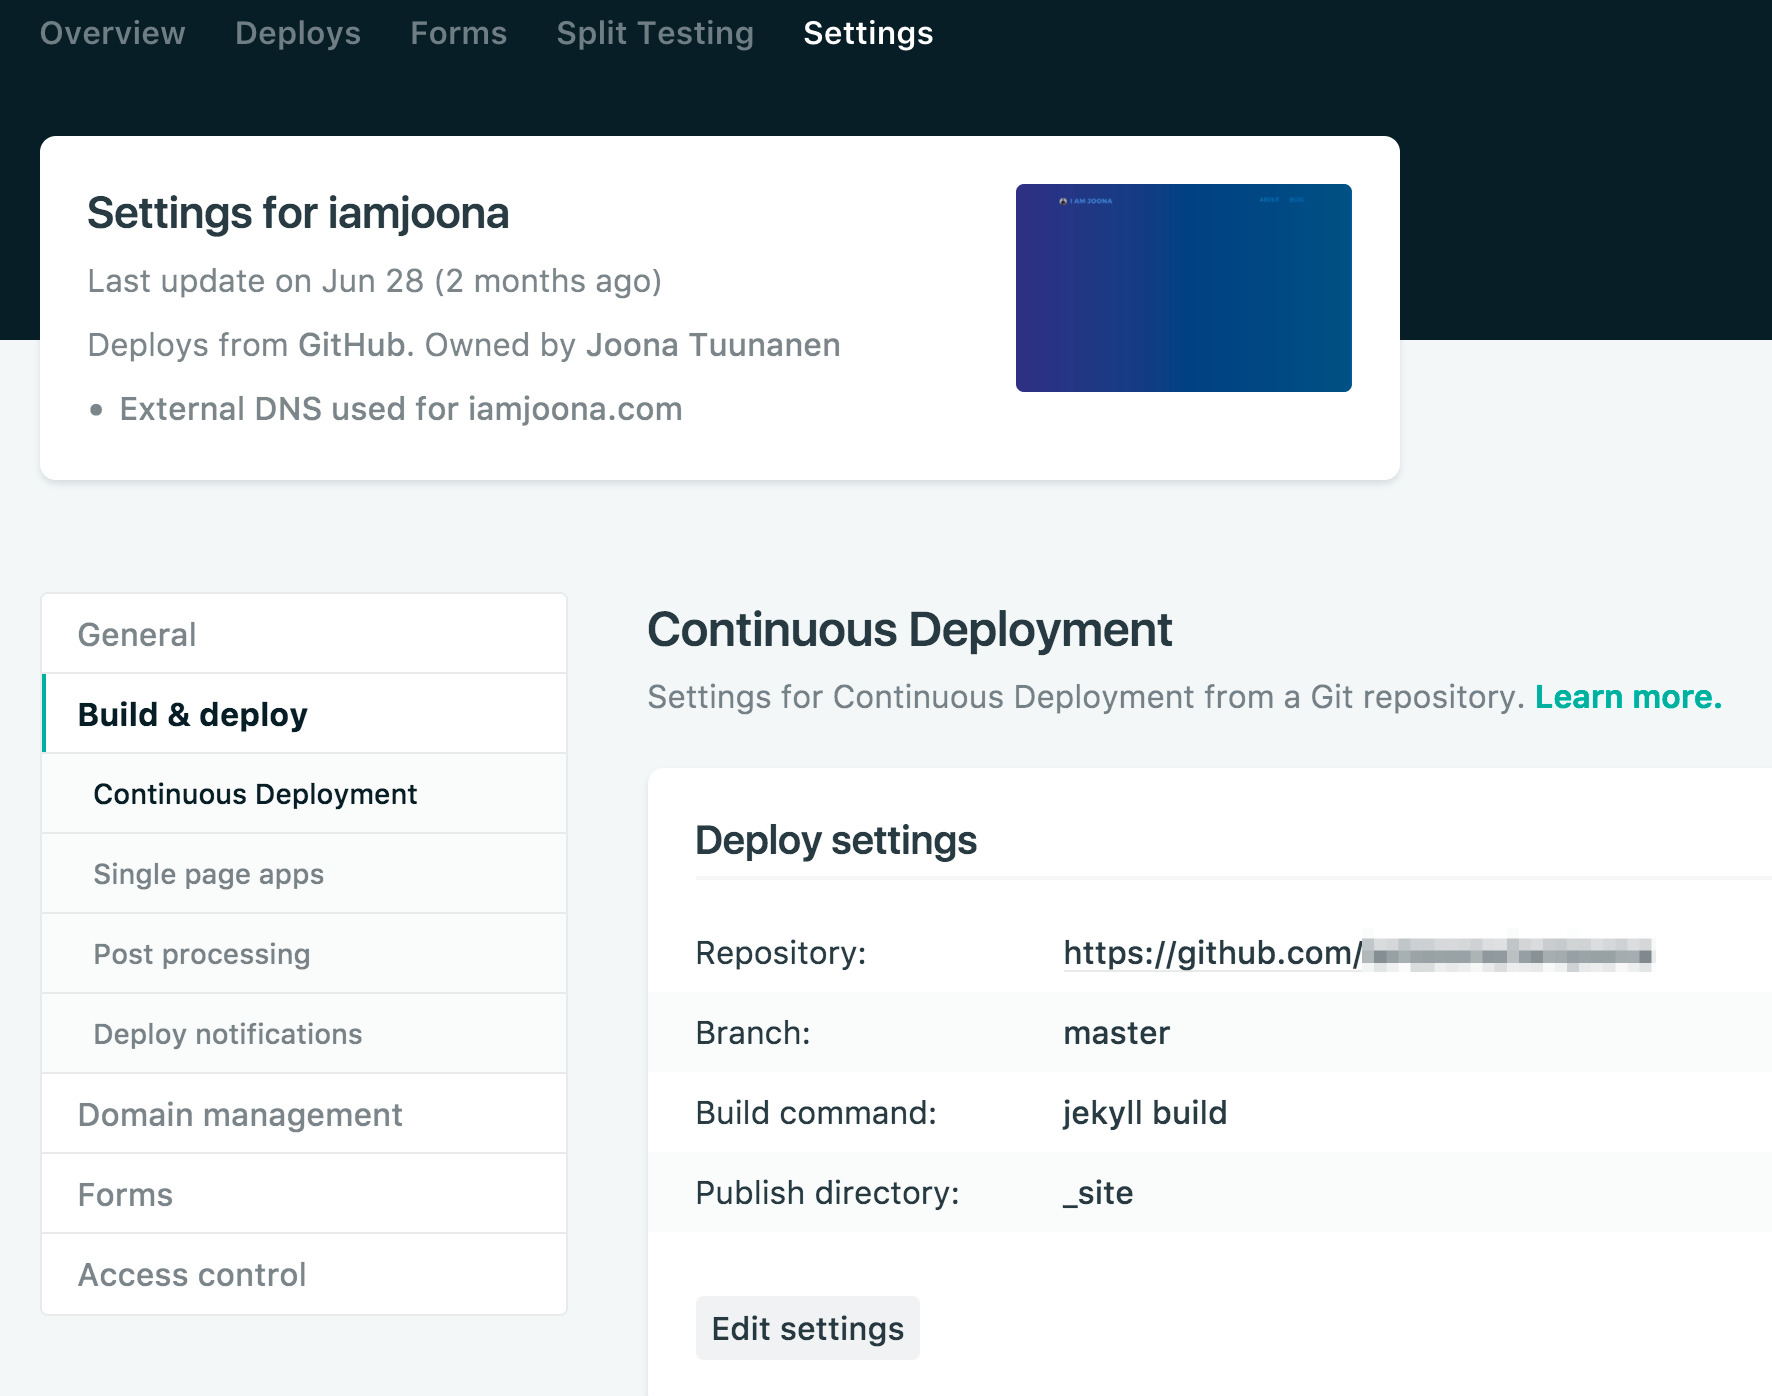
Netlify’s backend is easy to use and linking it with Github is quite straight forward (as far as I remember). Basically you’ll just need to fill out a few fields like this:
Once this linkup is working, you should be able to see your website live on (temporary) Netlify address! If you’re even remotely sane, you’ll probably want to do one more thing: to setup a custom domain.
5. Setup a custom domain
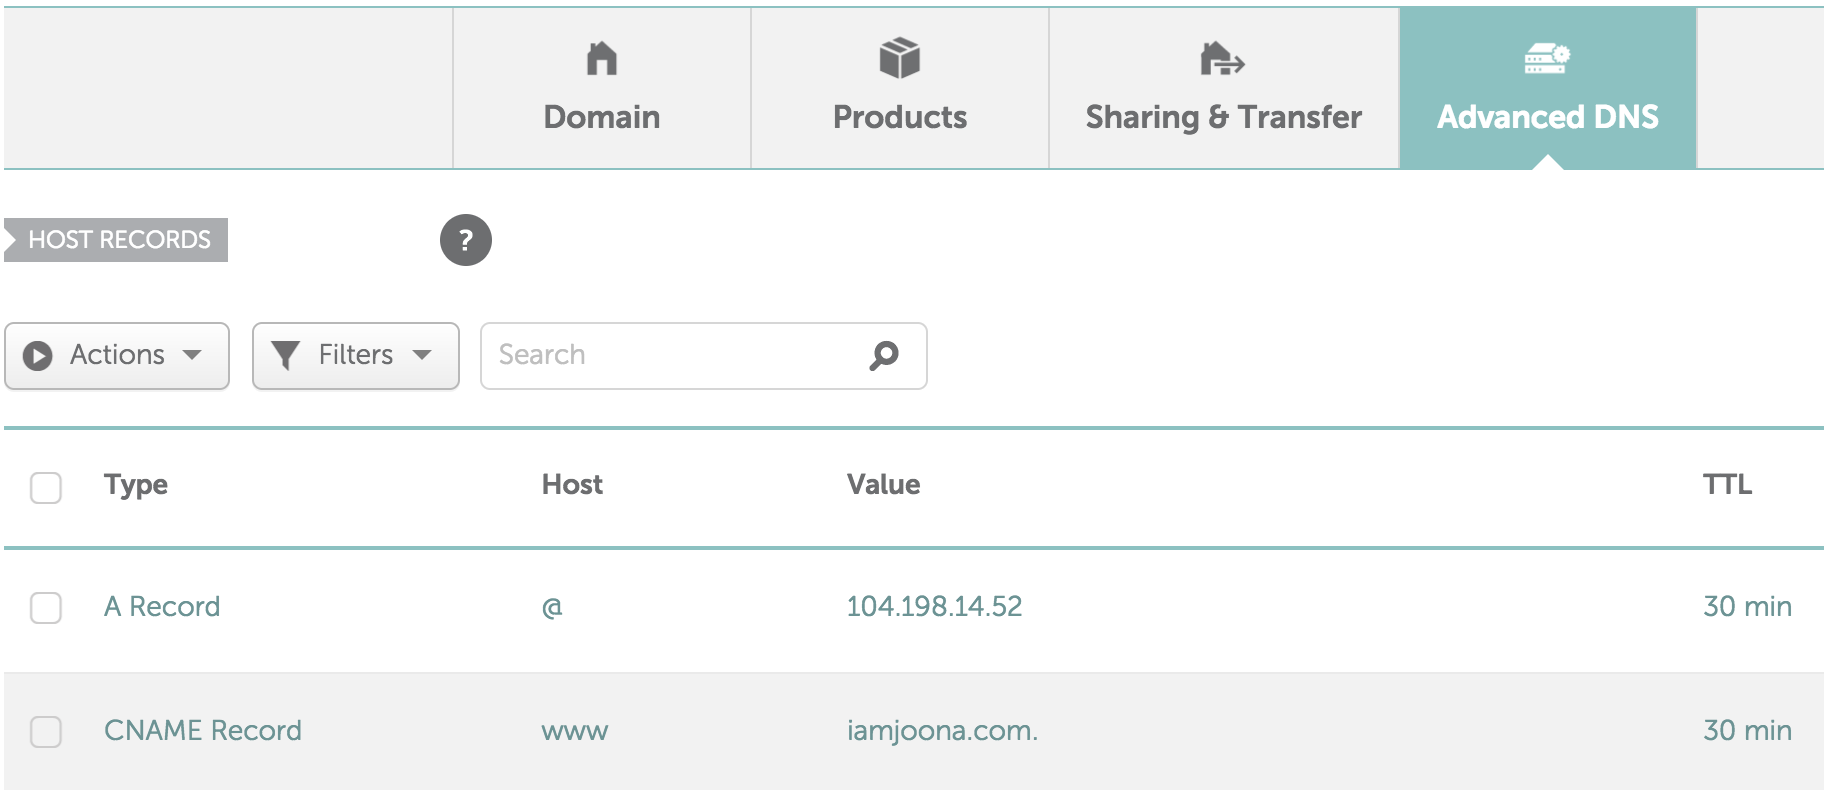
Getting the domain to work is relatively easy: you’ll just need to change the DNS to point to Netlify on whatever domain registrar you use. I use Namecheap so it looks something like this for me:
If you have some problems with getting the domain to link up nicely with your site, I recommend you to check your _config.yml file as well as Gemfile as those cheeky buggars can easily have some minor thing wrong. Also, Netlify has a good customer support if you need some help. But geeks don’t use customer support, right? :)
You also probably want to use SSL for your site. Luckily that can be activated through Netlify easily with a couple of clicks, especially if you’re okay with Let’s Encrypt SSL.
Conclusion and additional resources
If this guide didn’t totally suck, you should now have some sort of static website up and running. I really feel like this is the next step for publishing online, especially if you develop these sites to be progressive web apps.
Time will tell if this is just a fad or if something better comes along, but going static makes a lot of sense at this point in time. At least I’m going to build my personal sites with this stack in the near future, if not for any other reason than some imaginary nerd cred.
Getting a site up is not that difficult and doesn’t require a huge amount of software. You’ll need:
- A code editor
- Github account or similar
- Hosting
- Local dev environment on your computer
Here are a few good resources for you to check out if you wanna research JAMstack and static websites further before plunging in: